GMI Edu provides a comprehensive academic approach to handling examination setup, scheduling, attendance, registration, grading, and mark sheet reporting. This document displays the marks obtained by all students in each subject. In other words, GMI Edu uses the mark sheet to enter and record all types of student progress. The system allows for the addition of exams, including exam title, class, section, subjects, date, start and end times, minimum percentage, and the exam’s instructions. Additionally, the super admin has the capability to manage questions, register marks, edit, and delete entries via the action column.
Short Directions for Academic Exam Setup #
- Accessing the Dashboard:
First, go to the GMI Edu dashboard to locate the Academics section. - Adding Students to Classes:
In the class section, you can add new students. - Adding Subjects:
Users can add new subjects for students. - Assigning Classroom Teachers:
Assign classroom teachers to engage in critical reflection and inquiry to improve their knowledge. - Assigning Subjects to Students:
Select the subject that is assigned to the student. - Setting Classroom Capacity:
The admin can set the total capacity of the classroom. - Exam Setup:
In the exam section, users can organize the first, second, or third-term exam setup. - Filling Exam Setup Details:
Fill in the necessary fields, including the exam system, type, class, subject, section, exam mark, and pass mark. - Setting the Exam Timetable:
In the exam timetable section, the admin can assign subjects, classes, sections, teachers, dates, start and end times, and classrooms. - Attendance Tracking:
Attendance information (present or absent) can be checked by the admin or instructor. - Managing Mark Sheets:
Mark sheets will display detailed information about all students and the exams conducted. - Grading System:
The primary purpose of the grading system is to assess a student’s academic performance. - Sending Results via SMS:
Results can be sent to candidates via SMS, ensuring fast and instant distribution of marks. - Marksheet Report:
This report will show the student’s name, admission number, roll number, position, total marks, pass marks, obtained marks, result, and grade.
1. Add Academics Section: #
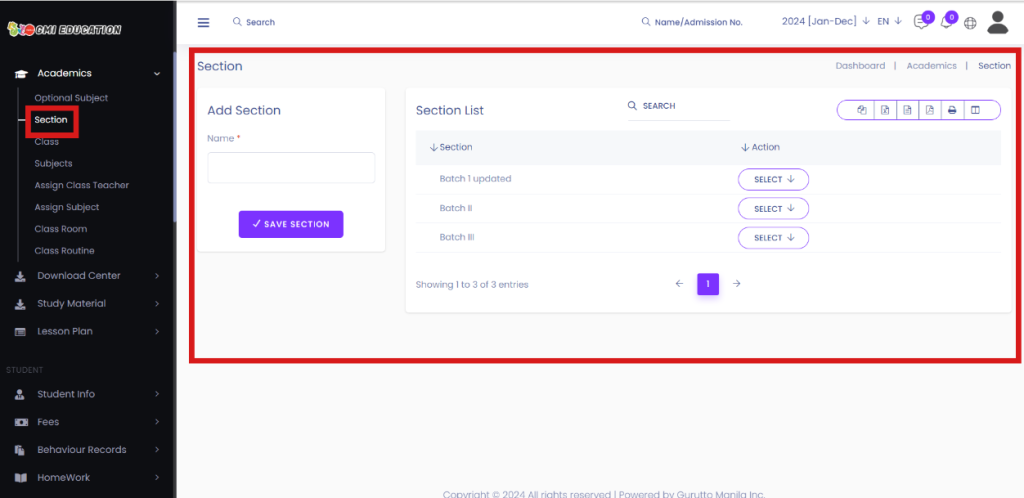
If you want to set up the total examination for the mark sheet, then you have to complete the picture of the number procedure. At first, a user has to create a new section.
Short Direction:
GMI Edu > Dashboard > Academics > Section > Add Section > Name > Save Section > Section > Section for edit or delete.
1. Add New Class: #
This is the class section where you have to add a new student from here to click on the number of students, you will see the new interface that fills up all student information requirements.
With this class option related to the student, you can add new students to your Institute after they get admitted to your Institute. If you want to know How to Add New Students to your Institute then click on the link below:
Link: https://knowledge.gurutto-manila.com/docs/how-to-add-new-students-to-your-institute/

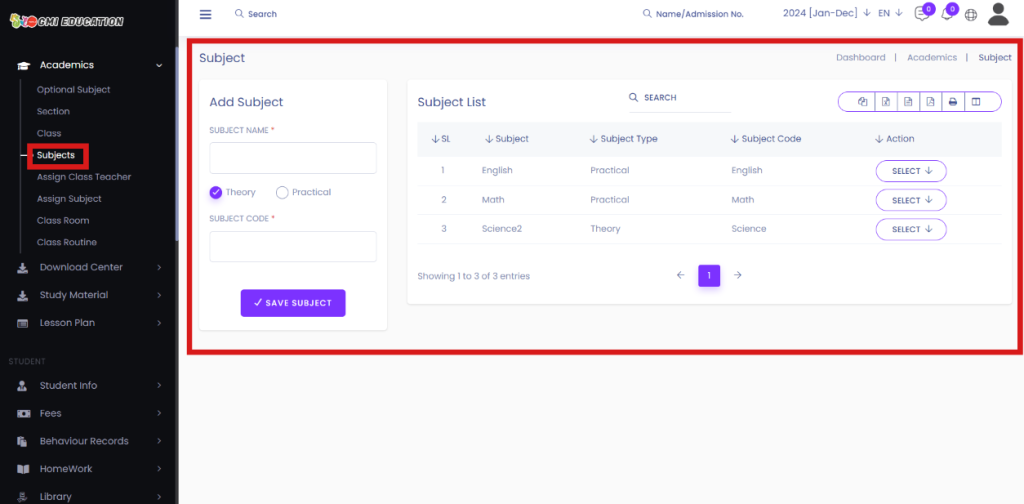
3. Add New Subject:
This is a section from where the user can add a new subject for the student. Those subjects can all be theoretical or practical, even though you can put a specific mark on the exam pass mark.
Short Direction: {GMI Edu> Dashboard> Academics> Subjects> Add Subject> Subject Name> Theory or Practical> Subject Code> Pass Mark> Save Subject> Select for edit or delete.}
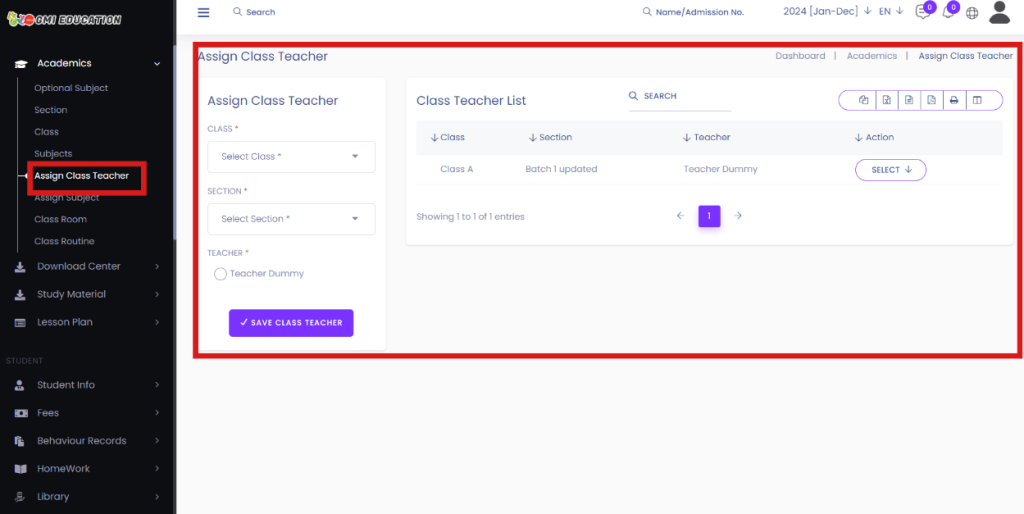
4. Assign Class Teacher:
The primary focus of the classroom teacher is on the planning, preparation and teaching of programs to achieve specific student outcomes. The classroom teacher engages in critical reflection and inquiry in order to improve knowledge and skills to effectively engage students and improve their learning.
Short Direction: {GMI Edu> Dashboard> Academics> Assign Class Teacher> Class> Section> Mark as teacher> Save Class Teacher> Select for edit or delete.}
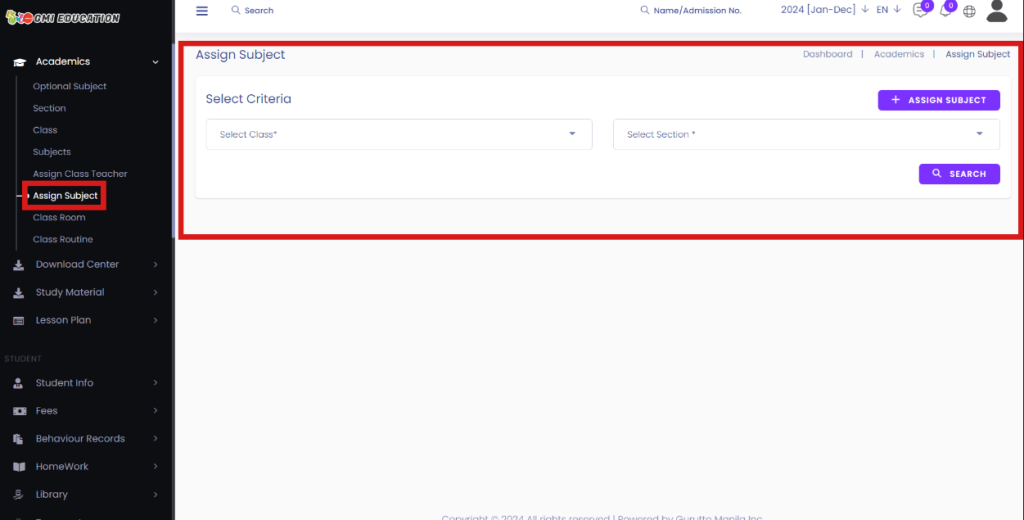
5. Assign Subject:
When you have created a class, subject or assigned class teacher & already added a new student then select the subject that is assigned to them.
Short Direction: {GMI Edu> Dashboard> Academics> Assign Subject> Select Criteria> Select Class> Select Section> Search> Assign Subject.}
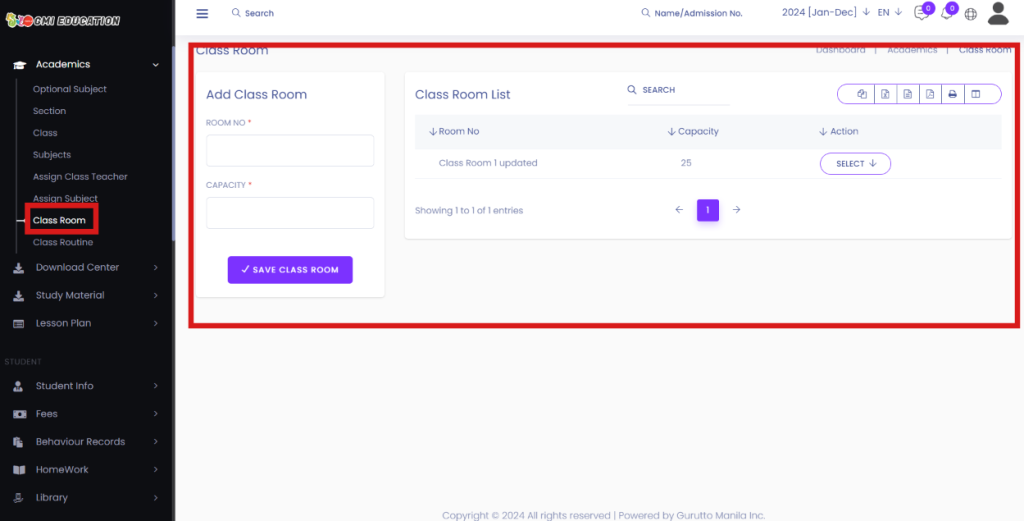
6. Add New Class Room:
This is the student classroom platform where the admin can set the total capacity of the classroom. For easy identification, you can put on the classroom’s unique room number.
Short Direction: {GMI Edu> Dashboard> Academics> Class Room> Add Class Room> Room No> Capacity> Save Class Room> Class Room List> Select for edit or delete.}
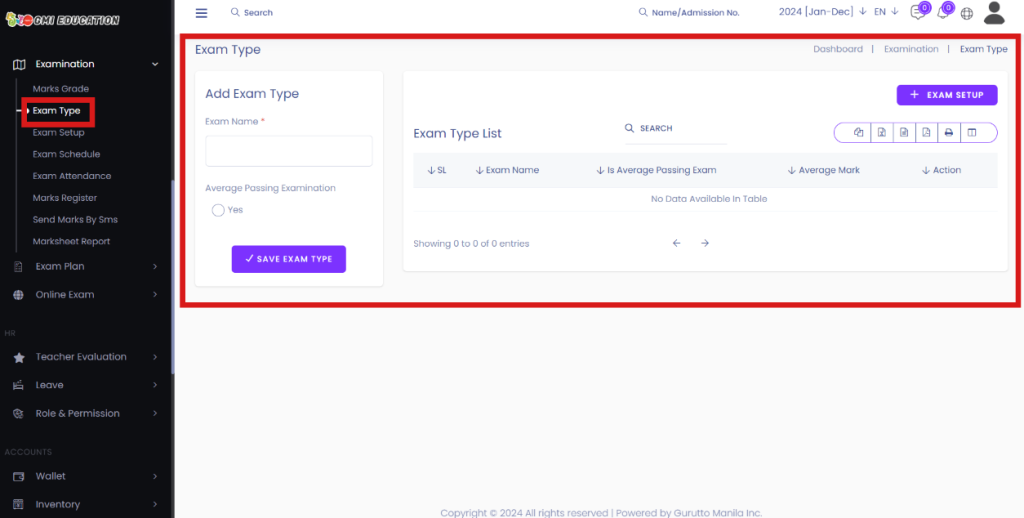
7. Add Exam Type:
Here is the part of the exam section the user can divide the first, second or third-term exam setup. There are many different types of exams and exam questions that you may need to prepare for at Infixedu. Each type of exam has different considerations and preparation, in addition to knowing the course material.
Short Direction: {GMI Edu> Dashboard> Examination> Exam Type> Add Exam Type> Exam Name> Save exam Type> Select for edit & delete.}
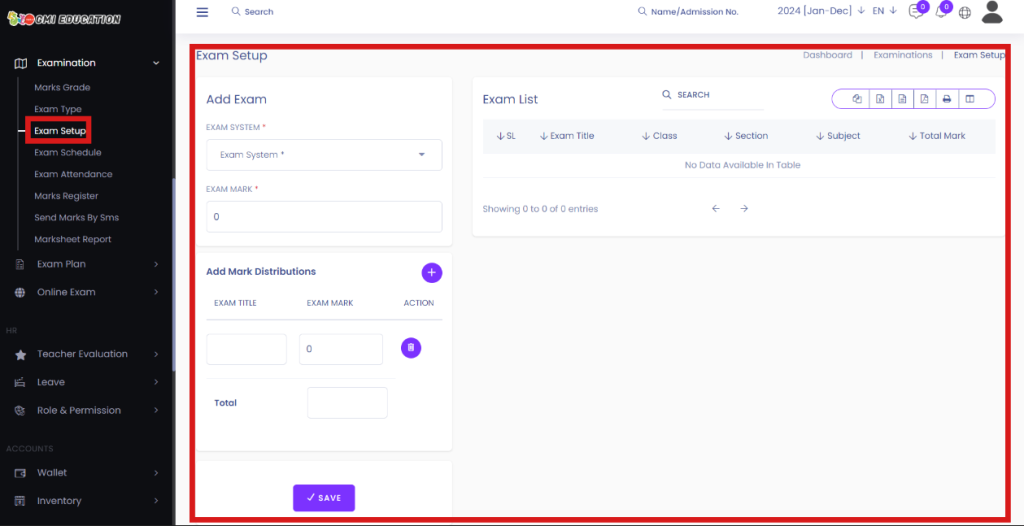
8. Exam Setup:
This is the exam setup section the user should fill in all of the empty boxes like the exam system, type, class, subject, section, exam mark & pass mark. You have to distribute the exam mark properly or it will show the invalid. When you scroll down below you will see the exam schedule you can create.
Short Direction: {GMI Edu> Dashboard> Examination> Exam Setup> Add Exam> Exam System> Exam Type> Class> Subject> Section> Exam Mark> Pass Mark> Add Mark Disributions> Exam Title> Exam Mark> Total Mark> Exam Schedule Create> Teacher> Date> Start Time> End Time> Room> Save.}
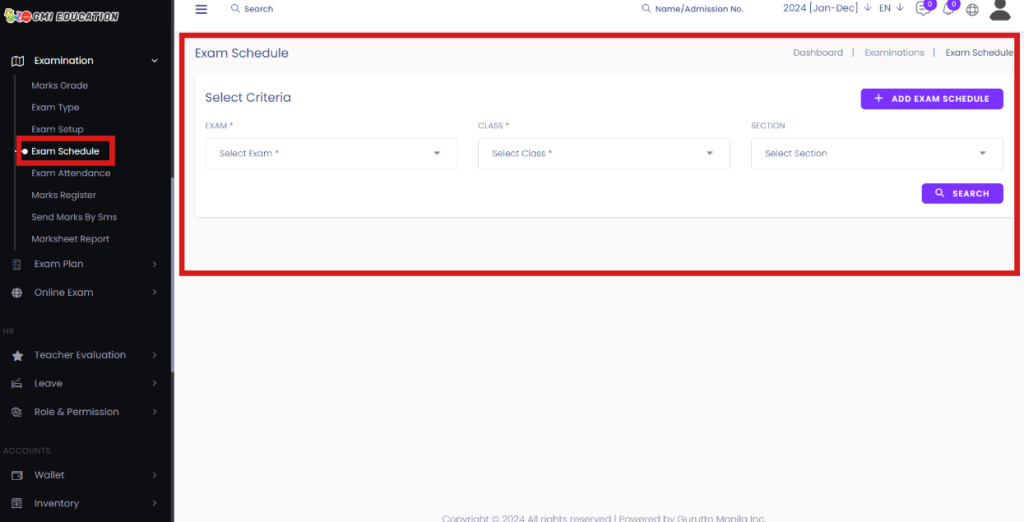
9. Create Exam Schedule:
This is the exam timetable section where the admin can set the subject, class, section, teacher, date, start time, end time, classroom and action for delete or skill this, Hit the save button to create an exam schedule.
Short Direction: {GMI Edu> Dashboard> Examination> Exam Schedule> Select Criteria> Select Exam> Select Class> Select Section> Search> Add> Subject> Class> Section> Teacher> date> Start Time> End Time> Room> Action.}
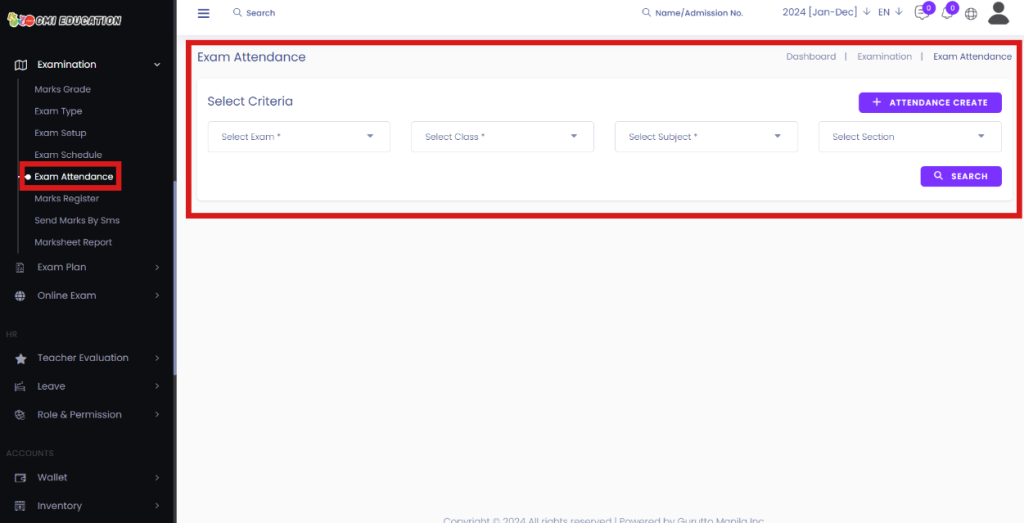
10. Exam Attendance:
This is the examination present or absent attendance information where the admin or instructor can check the student attendance. The most important thing from here about adding students is that exam attendance will not work.
Short Direction: {GMI Edu> Dashboard> Examination> Exam Attendance> Select Criteria> Select Exam> Select Class> Select Subject> Select Section> Search> Admission No> Student Name> Class (Section)> Roll No> Attendance> Attendance create.}
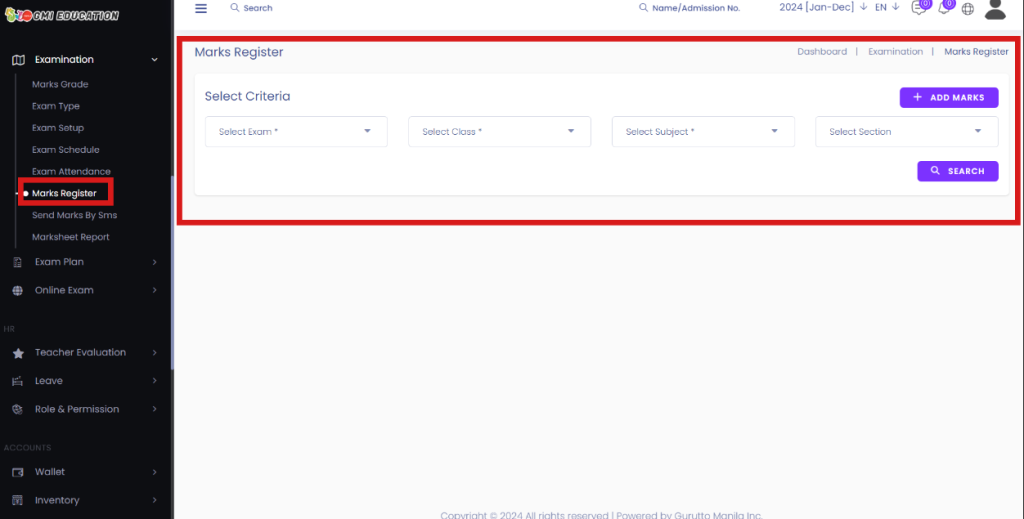
11. Marks Register:
Marksheet Registers contains the mark sheets of all the students and details of the exam conducted. An instructor can find out the mark register through way of admission number, roll no, student, class(section), marks they get & is they are present or absent.
Short Direction: {GMI Edu> Dashboard> Examination> Marks Register> Select Criteria> Select Exam> Select Class> Select subject> Select Section> Search> Admission No> Roll No> Student> Class(Section)> Q1 for result> Present or absent> Add New Marks.}
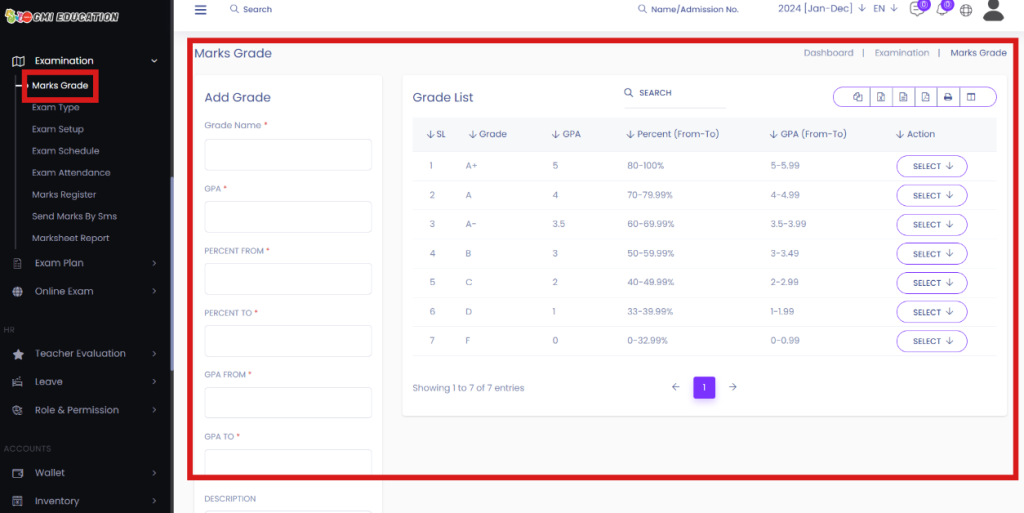
12. Add Mark Grade:
The primary objective of having a grading system is to assess the academic performance of a student. Used by schools all over the world, this technique is considered the most viable medium to analyze a child’s grasping power and reciprocating abilities.
Short Direction: {Infixedu> Dashboard> Examination> Marks Grade> Add Grade> Grade Name> Percent From> Percent To> Description> Save Grade> Select for edit or delete it.}
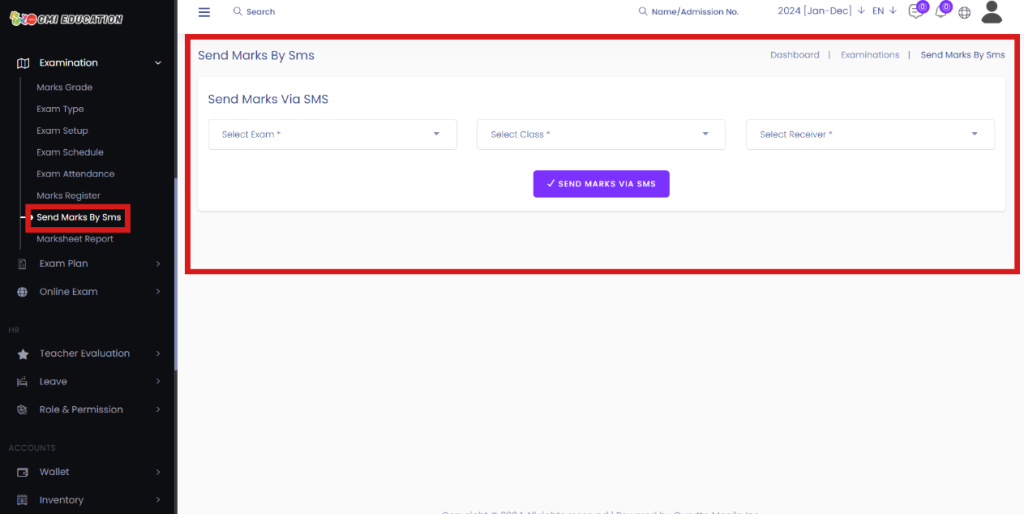
13. Send Marks By SMS:
Sending the results of the candidates via SMS facilitates the fast and instant distribution of Marks. You don’t need a separate software for sending the SMS; this feature comes in-built with the answer sheet checker.
Short Direction: {GMI Edu> Dashboard> Examination> Send Marks By SMS> Select Exam> Select Class> Select Receiver> Send Marks Via SMS.}
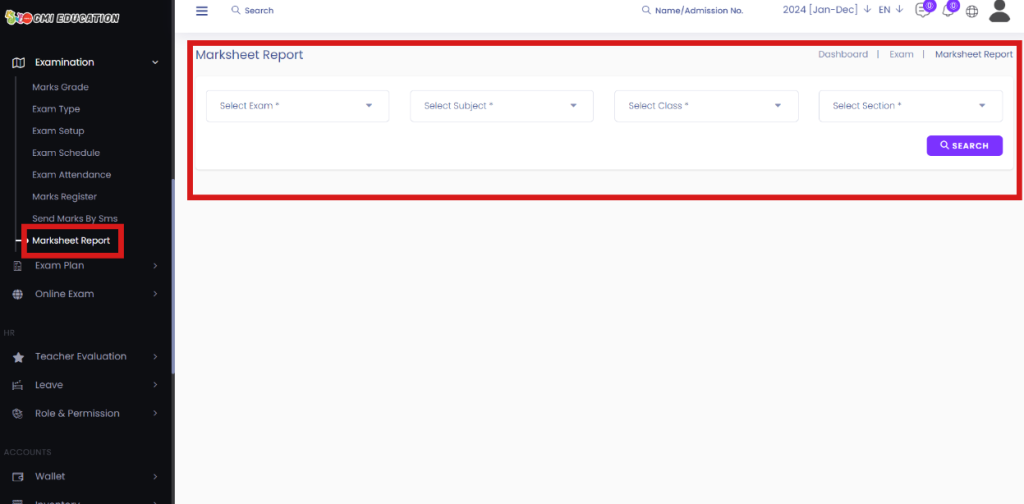
14. Marksheet Report:
If you want to check the student examination mark sheet report then the user has to search the criteria of exam, subject, class & section in which area of the subject they attend the exam. This Marksheet report below will show the student’s name, admission no, roll no, position, total mark, pass mark, obtained mark, result & grade.
Short Direction: {GMI Edu> Dashboard> Examination> Marksheet Report> Select Criteria> Select Exam> Select Subject> Select Class> Select Section> Search> Marksheet Report> Student Name> Admission No> Roll No> Position> Total Mark> Pass Mark> Obtained Mark> Result> Grade.}