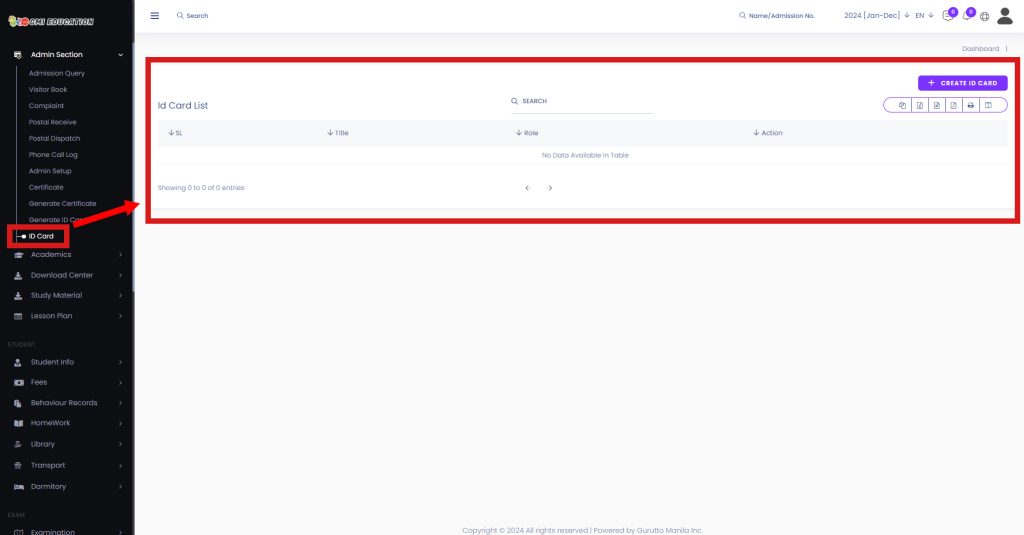
You can easily create ID card layouts for your Students, Teachers, and Staff.
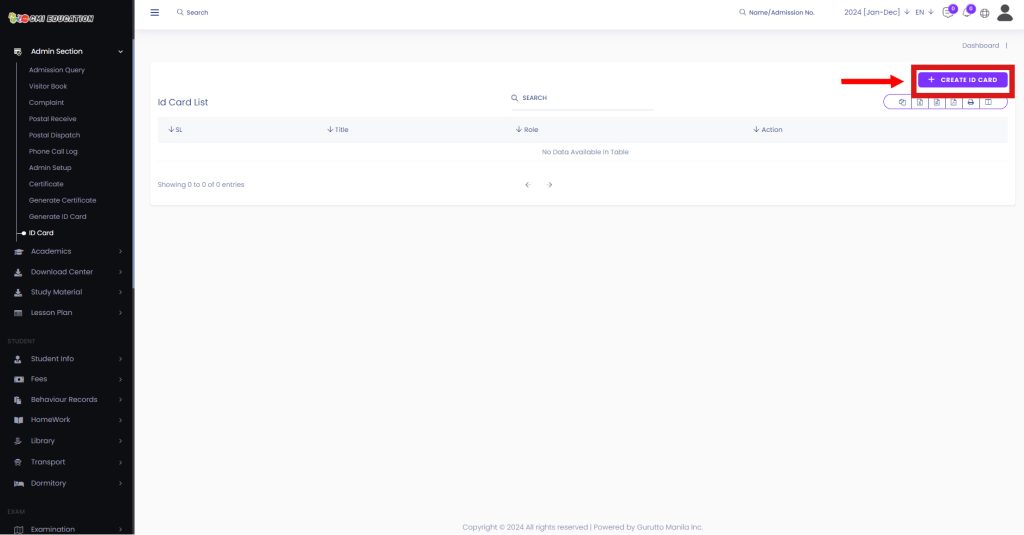
To create an id card design for your students, Teacher, and Staff, click on CREATE ID CARD.
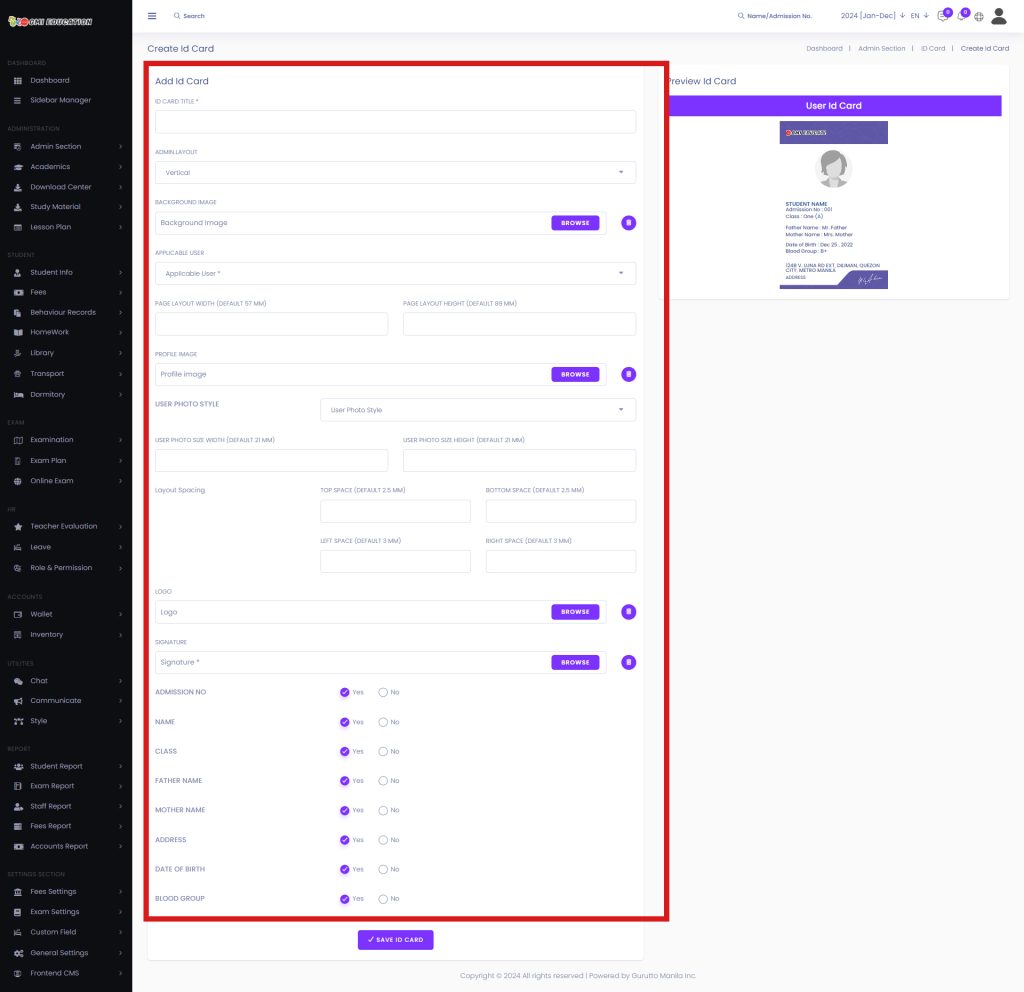
Now on the next page, you will see some fields.
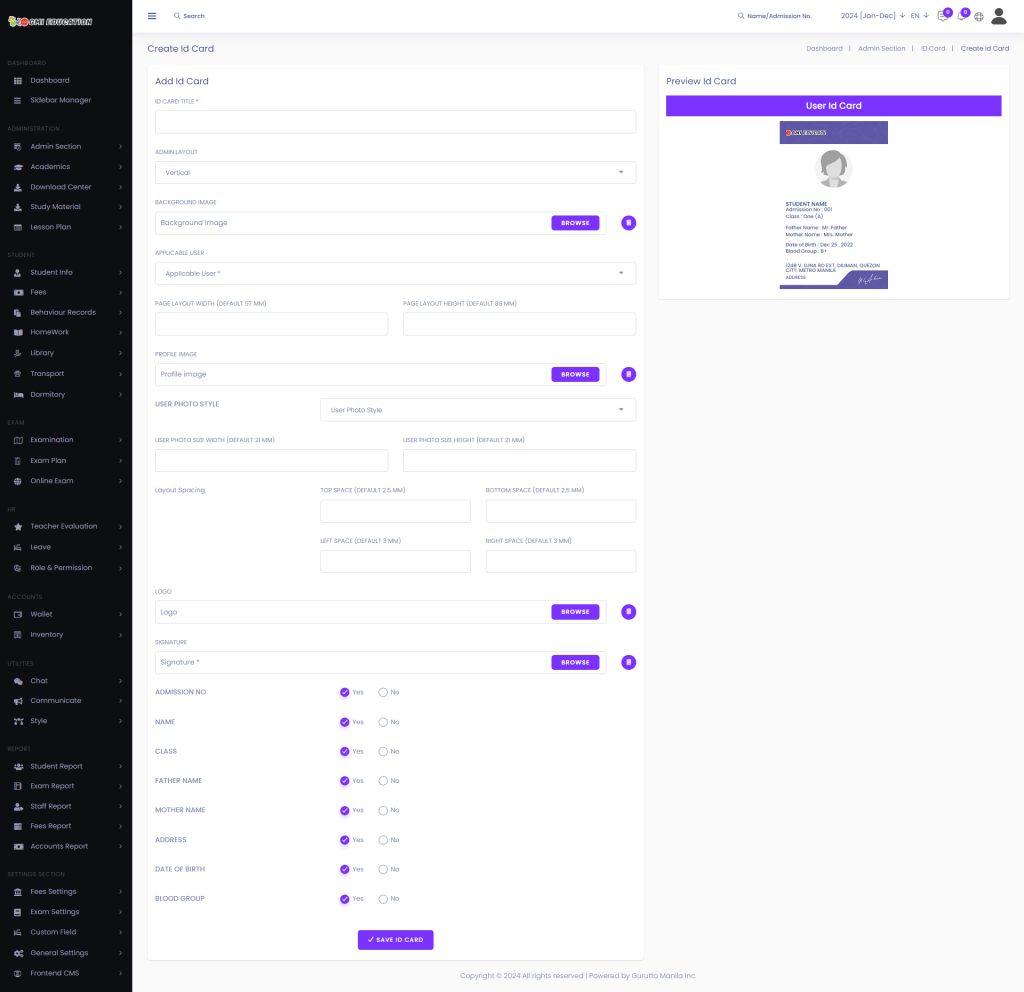
To create an Id card, fill in the information or select information for your Students, Teacher and Staffs, Such as Id Card Title[1], Horizontal Or Vertical Layout[2], Background Image[3], Applicable User[4], Page Layout Width And Height[5], Profile Image[6], User Photo Style[7], User Photo Size Width And Height[8], Layout Spacing Top Space, Bottom Space, Left Space, And Right Space[9], Logo[10], Signature[11], Admission No[12], Name[13], Class[14], Father Name[15], Mother Name[16], Address[17], Date Of Birth[18], And Blood Group[19].
ID CARD TITLE[1]
Here you have to add the title of the id card layout.
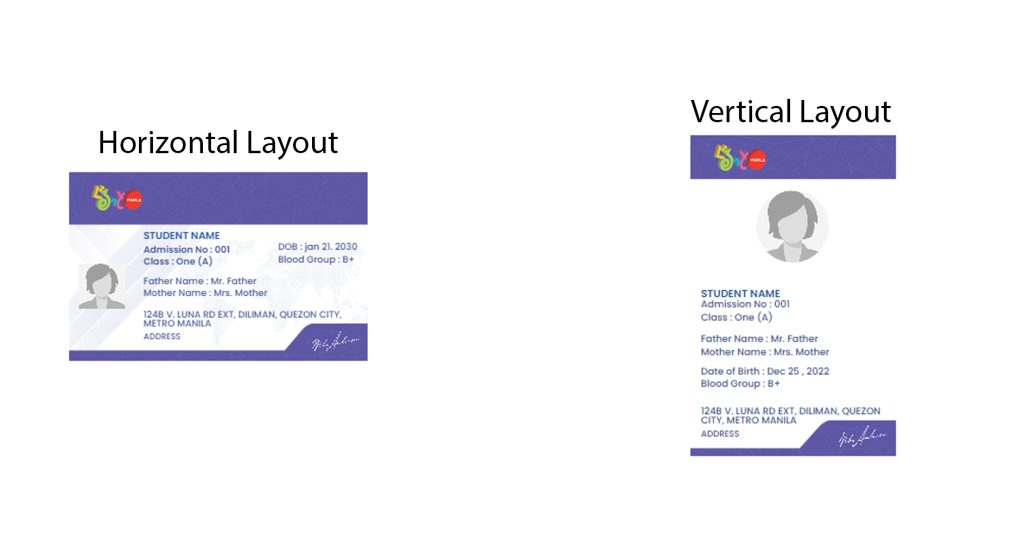
HORIZONTAL or VERTICAL LAYOUT[2]
Here you can select the orientation of an ID card.
BACKGROUND IMAGE[3]
Here you can customize the Id card’s background image, but giving a background image is not mandatory.
APPLICABLE USER[4]
In this field, you can define the users such as students, staff, or teachers.
PAGE LAYOUT WIDTH and HEIGHT[5]
You can set the custom width or height of the id card.
PROFILE IMAGE[6]
This section will hold the photo of your students/staff/teachers. You can add a demo profile image in this section.
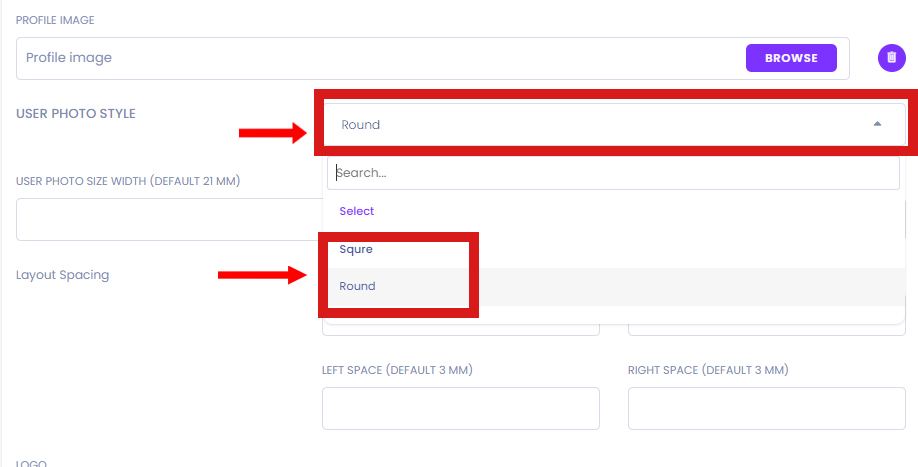
USER PHOTO STYLE[7]
In this field, you can define the style of the photograph. There are two styles available as of now, Square and round.
USER PHOTO SIZE WIDTH and HEIGHT[8]
Here you can customize the photograph and increase or decrease the photograph size.
Layout Spacing TOP SPACE, BOTTOM SPACE, LEFT SPACE, and RIGHT SPACE[9]
In this section, you will be able to adjust the spacing of the full layouts.
Logo[10]
This section allows you to place your official logo on the id cards.
SIGNATURE[11]
This section allows you to place the school Principal’s signature on the id cards.
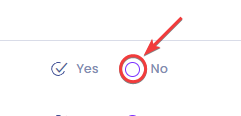
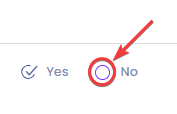
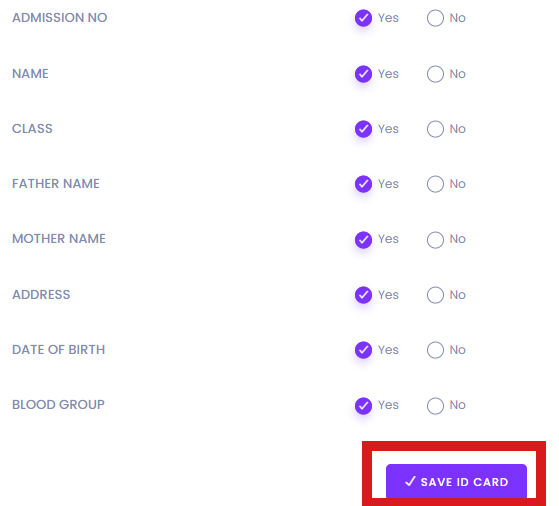
ADMISSION NO[12]
You will find the Yes or No option in this section. By default, it will show the admission number on the id card, but you can hide the field by clicking on NO.
NAME[13]
You will find the Yes or No option in this section. By default, it will show the Student’s name on the id card, but you can hide the field by clicking on NO.

CLASS[14]
You will find the Yes or No option in this section. By default, it will show the class on the id card, but you can hide the field by clicking on NO.

FATHER NAME[15]
You will find the Yes or No option in this section. By default, it will show the Student’s Father’s name on the id card, but you can hide the field by clicking on NO.

MOTHER NAME[16]
You will find the Yes or No option in this section. By default, it will show the Student’s mother’s name on the id card, but you can hide the field by clicking on NO.

ADDRESS[17]
You will find the Yes or No option in this section. By default, it will show the Address information on the id card, but you can hide the field by clicking on NO.

DATE OF BIRTH[18]
You will find the Yes or No option in this section. By default, it will show the Student’s birth date on the id card, but you can hide the field by clicking on NO.

BLOOD GROUP[19]
You will find the Yes or No option in this section. By default, it will show the Student’s blood group information on the id card, but you can hide the field by clicking on NO.
After you configure all the information, just click on the SAVE ID CARD button to save the information.
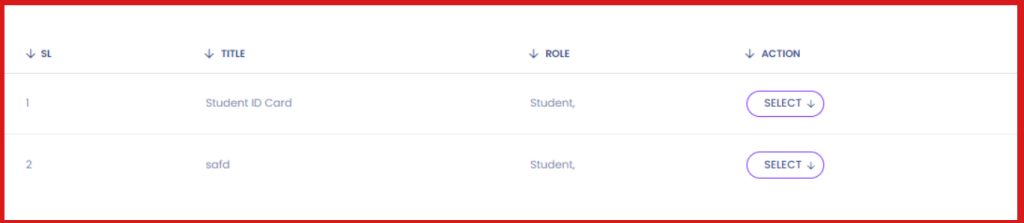
After clicking on save, the system will take you back to your Id card list.
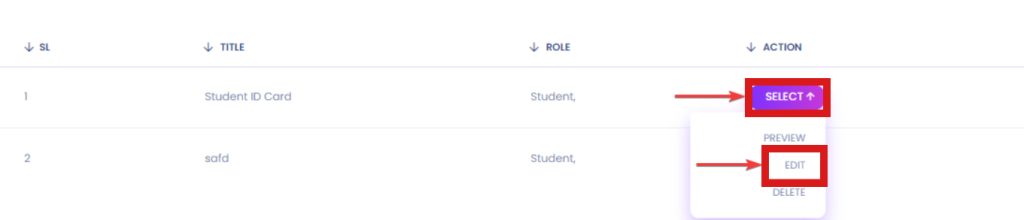
How To Preview Your Custom ID Card Layouts #
To review your custom design, click on SELECT > PREVIEW.
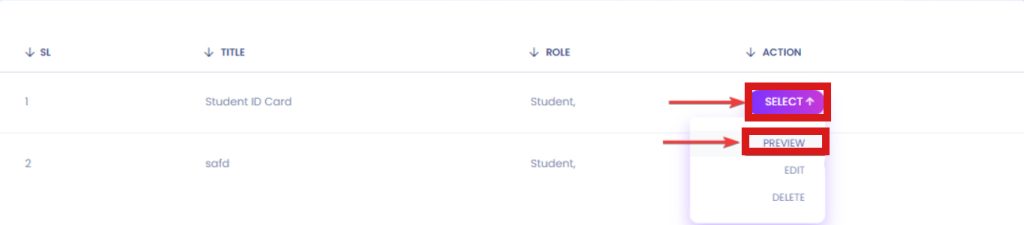
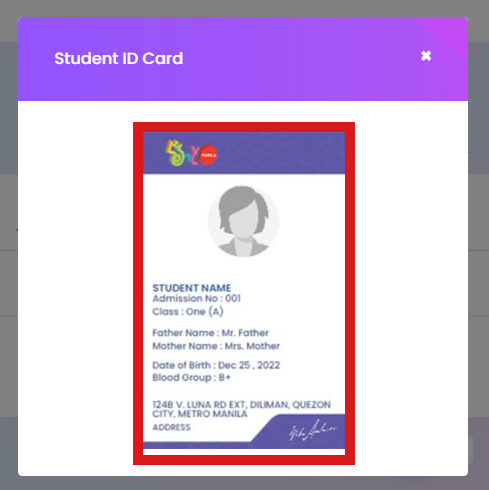
Now, you will see a popup showing you the customized layout you just created.
How To Edit Your Custom ID Card Layouts #
To Edit your custom design, click on SELECT > EDIT.