This guide will walk you through the process of adding a new student category using our software.
Step 1: Access Student Category Management
- Navigate to the designated option for managing student categories.
- You will see a list of existing student categories along with options to add, edit, or delete categories.
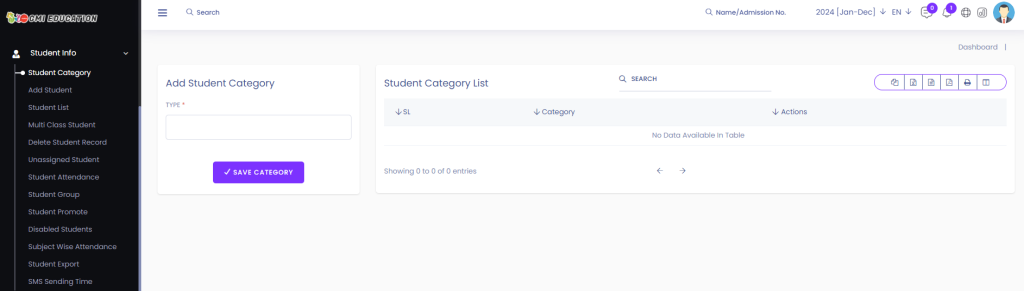
Step 2: Add a New Category
- To add a new category, locate the option to add a category.
- Fill in the “Type” field with the name of the new category.
- Click on “Save Category” to add the new category.

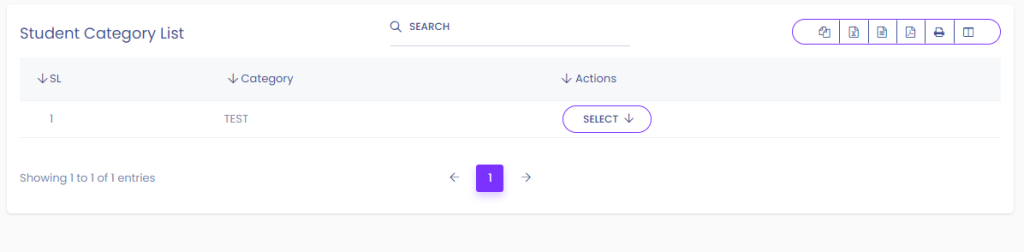
Step 3: Confirmation
- After saving the new category, you will see it added to the list of categories.
- The new category will be displayed along with the existing ones.
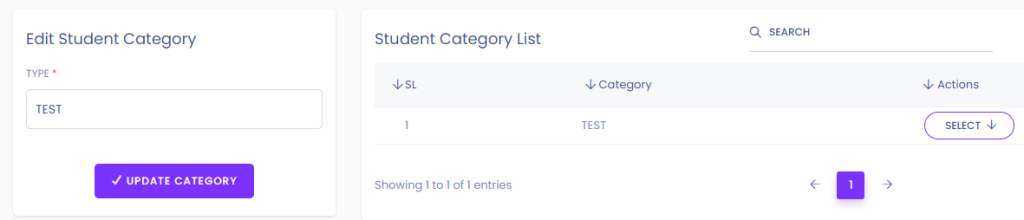
Step 4: Edit Existing Categories
- If you need to edit an existing category, click on “SELECT” followed by “EDIT” next to the category you want to modify.
- Update the Category Type as needed.
- Click on “Update Category” to save the changes.

Step 5: Confirmation of Changes
- Once updated, you will receive confirmation that the category has been edited successfully.
- The changes will be reflected in the list of student categories.