In this option, you can easily configure the notice board and add, edit, and delete notices from the notice board.

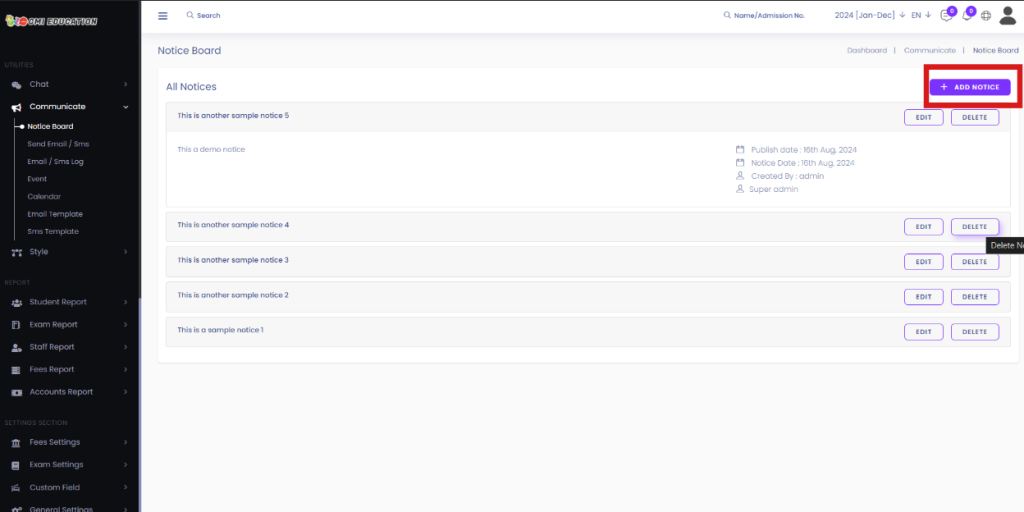
To add a new notice, click on the Add Notice button
After clicking on the button, you should see a new page where you can add the Title[1] and Notice Date[2]. The Notice Board button[3] will take you back to the notice board. You can text that specific notice in the Notice Field[4]. You can set up the notice to publish on a specific date in the future in the Publish On field[5]. If you click on the IS Published Website checkbox[6], you will see the notice on the website’s Home Page. You can set up the notice for a specific group of people, such as Students or staff, in the Message To[7] Section. Click on the Save Content button[8] to finalize the new notice.
After checking the Checkmark IS Published Website checkbox[6], you will see the notice on the website’s Home Page
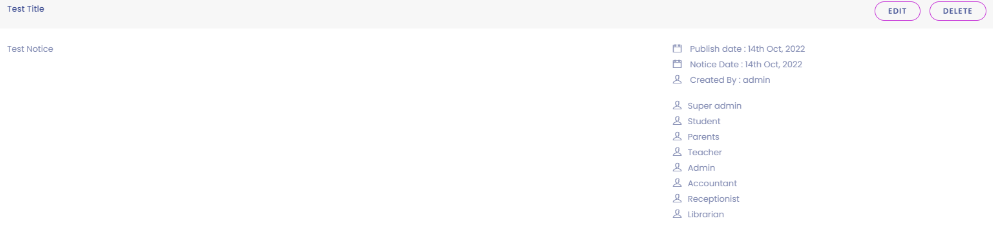
You can view the notice in more detail if you click on that specific notice.
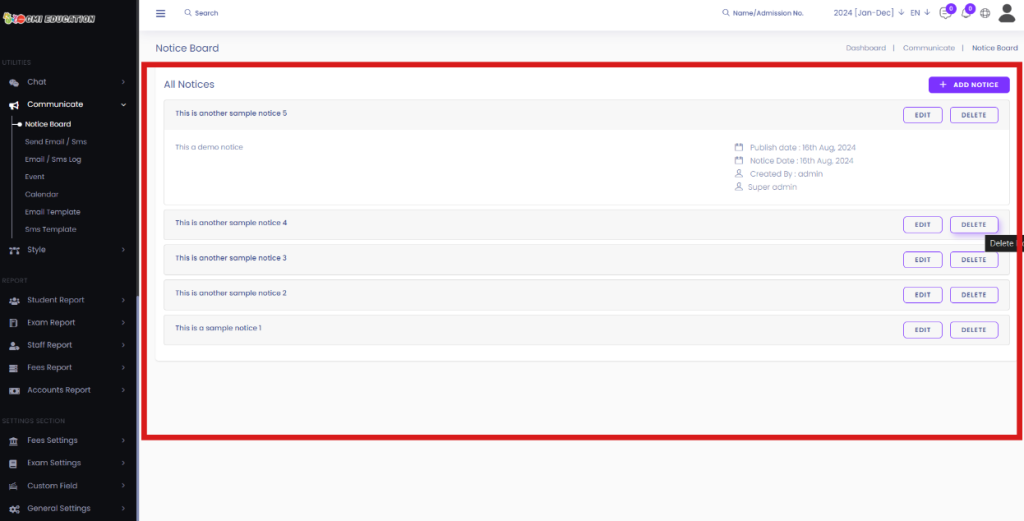
After clicking on the Save Content button, you should see the newly configured notice in the list of All Notices.
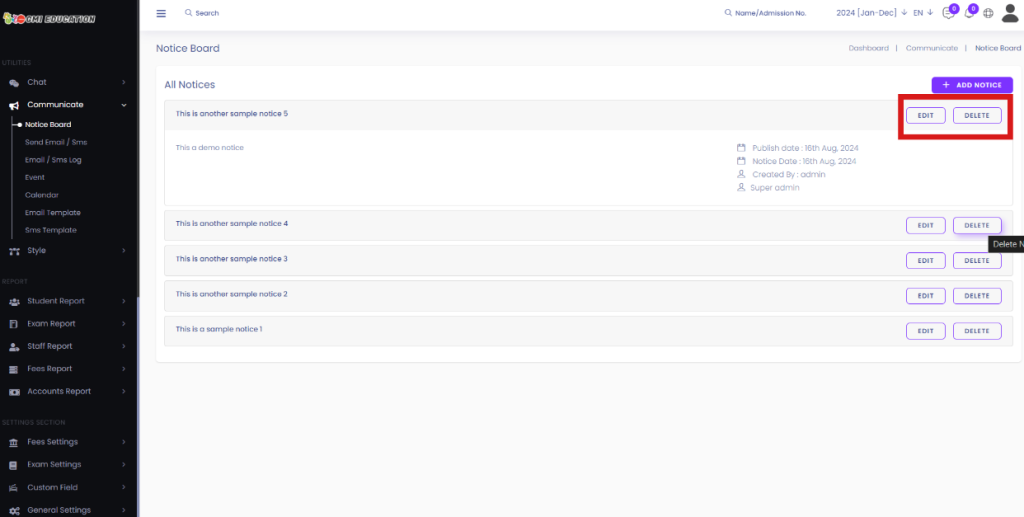
Now, you can edit or delete the notices by clicking on the Edit[1] or Delete[2] button.